
Scheduling a corporate retreat for a distributed team can feel like trying to solve a puzzle where every piece represents a unique commitment or time zone. Clarity in event parameters paired with a well-organized attendee list is the foundation for efficient coordination. Event planners across North America know that a clear process for defining attendee and event details streamlines scheduling, reduces conflicts, and helps maximize participation among remote members.
Table of Contents
- Step 1: Define Event Parameters And Attendee List
- Step 2: Set Potential Date Range In Scheduling Tool
- Step 3: Share Event Link And Collect Unavailable Dates
- Step 4: Visualize Data To Identify Optimal Dates
- Step 5: Confirm And Communicate Selected Event Dates
Quick Summary
| Key Insight | Explanation |
|---|---|
| 1. Define event parameters early | Clarify the event's purpose, format, and attendee list to streamline scheduling and prevent confusion later. |
| 2. Set a realistic date range | Create a scheduling window of 2-8 weeks while avoiding major events or holidays to enhance participation. |
| 3. Collect unavailability clearly | Ask team members to mark only their unavailable dates within the set range, simplifying the scheduling process. |
| 4. Visualize data for optimal dates | Use tools to display participant availability visually, helping identify the best dates with the fewest conflicts. |
| 5. Communicate decisions effectively | Share the confirmed event details across multiple channels to ensure all participants are informed and engaged. |
Step 1: Define event parameters and attendee list
Before you coordinate any dates with your team, you need clarity on what you're actually planning. Defining your event parameters and attendee list upfront prevents confusion later and makes the scheduling process infinitely smoother.
Start by answering these core questions about your event:
- What is the primary purpose of this retreat? (team building, strategic planning, training, celebration)
- How many people will attend? (exact headcount or realistic range)
- What is your approximate budget?
- What format do you envision? (multi-day offsite, half-day workshop, hybrid with remote participants)
- Are there specific dates that work better than others based on business calendars?
Your event format directly impacts who can attend and when. A three-day in-person corporate retreat has different scheduling constraints than a virtual half-day workshop. Defining your event goals and objectives shapes your attendee list and helps you prioritize availability conflicts.
Here is a summary of how each event format influences scheduling and participation:
| Event Format | Scheduling Flexibility | Participation Impact | Common Constraints |
|---|---|---|---|
| In-person multi-day | Requires advance notice | Travel/time zone challenges | Venue, travel, availability |
| Virtual half-day | Easier to schedule quickly | Broader attendance possible | Tech requirements, time zone |
| Hybrid | Requires special planning | Complex to balance both types | Tech setup, key roles presence |
| Workshop (onsite) | Moderate flexibility | Local team focus | Room booking, short notice |
Next, build your attendee list. This isn't just names and email addresses—it's understanding who absolutely must attend versus who would be beneficial to include. For corporate retreats with remote team members, you'll need to account for time zones and whether some people will join virtually.
Key information to gather on attendees:
- Full names and preferred contact information
- Department or role (helps identify any scheduling dependencies)
- Time zone or location (essential for remote teams)
- Any known constraints (people on approved vacation, predetermined commitments)
Consider whether there are VIPs, decision-makers, or key stakeholders whose availability becomes the anchor point for your event window. If your VP of Sales has a conference that week, that might eliminate certain dates regardless of general team availability.
Getting your attendee list complete and organized early is the difference between finding a date in two days versus two weeks.
Document everything in one place—a spreadsheet works fine, or better yet, create a checklist that tracks all critical planning details from attendees to logistics. This becomes your reference point when you start the actual date coordination process.

Pro tip: Identify 3-5 potential date windows during this step and flag any obvious conflicts now—don't wait until you're collecting everyone's availability to realize the event conflicts with your company's fiscal year close or a mandatory compliance training.
Step 2: Set potential date range in scheduling tool
Now that you know who needs to attend and what you're planning, it's time to establish the window when your event could realistically happen. Setting a potential date range in your scheduling tool gives everyone a clear target and prevents endless back-and-forth about when to even start looking.
Start by identifying your constraints. Think about your company's calendar, industry events, fiscal cycles, and any blackout dates where people definitely cannot participate. For teams spanning multiple time zones, consider whether certain seasons work better than others. A December retreat might conflict with holidays, while summer might see people already committed to vacations.
Once you understand the landscape, define your realistic date window. This typically spans 2 to 8 weeks, depending on your event type and planning timeline. For a corporate retreat, you might say "anytime between March 15 and April 30" rather than picking a single date.
Here's what to consider when setting your range:
- Start date should allow enough planning time (at least 2-3 weeks out)
- End date should reflect any hard deadlines or seasonal factors
- Avoid major holidays, industry conferences, or company-wide events
- Account for time zone differences if your team is distributed
- Build in buffer room (don't make the range too narrow)
When you enter your date range into your scheduling tool, you're essentially telling participants "please mark your unavailable dates within this specific window." Many scheduling platforms let you set custom date ranges and buffers for availability, which keeps the entire coordination process focused and efficient.
The tool will then collect responses only within that window, preventing people from suggesting dates completely outside your parameters. This saves time because you're not managing suggestions from October when you need an answer for April.
Below is a quick reference comparing common scheduling tools for event organization:
| Scheduling Tool | Key Strength | Potential Limitation | Best Use Case |
|---|---|---|---|
| Doodle | Simple group polls | Limited calendar integration | Small team events |
| When2meet | Visualizes group availability | Lacks advanced features | Informal teams, fast polls |
| Calendly | Automated scheduling, integrations | Less ideal for big events | 1:1 or small group setups |
| Google Forms | Customizable data collection | Manual data analysis | Large groups, unique needs |
A tight, well-defined date range focuses your team's attention and dramatically speeds up the decision-making process.
Before you share your scheduling link with attendees, double-check that your date range actually works. Verify no major company events, executive travel, or industry conferences fall during this window. If your CEO is at a conference for the first week of your range, that doesn't help anyone.
Pro tip: Set your date range about 3-5 days wider than you think necessary on both ends, giving yourself flexibility if the optimal dates fall near the boundaries but gives you room to negotiate without reopening the entire scheduling discussion.
Step 3: Share event link and collect unavailable dates
This is where your planning becomes action. You've defined your event and set your date window, now you need to actually hear from your team about when they cannot attend. Sharing your scheduling link and collecting unavailable dates is the core of efficient coordination.
Start by preparing a clear message to send alongside your link. Keep it brief and specific. Your team needs to understand three things: what the event is, why their input matters, and what you're asking them to do. Explain that they should mark only the dates when they are unavailable, not the dates they prefer. This inverse approach actually saves time compared to asking people to pick from hundreds of possible date combinations.
Your message should include:
- A one-sentence description of the event
- The date range you're working within
- A deadline for responses (typically 3-5 business days)
- A link they can click without needing to create an account
- Instructions to mark unavailable dates only
When sharing your link, consider your distribution method. Email remains the most reliable for corporate teams, especially those with remote members. If your team uses Slack or Microsoft Teams, you can share there as well. The key is reaching everyone and making it obvious this requires their response.
Once participants receive your link, they'll access the calendar and efficiently mark their unavailable dates within your specified range. Some will need a few minutes, others might need a day or two to check their calendars. This is normal.
Set your response deadline early enough to give yourself time to analyze the data and make a decision before you need to lock in the date.
Monitor responses as they come in. You don't need to wait for 100 percent participation before you start identifying patterns. Often by the second or third day, a clear optimal window will emerge even if a few stragglers haven't responded yet.
Send one gentle reminder about 24 hours before your deadline. People genuinely forget, and a simple "heads up, deadline is tomorrow" message typically brings in 10-15 percent more responses.
Pro tip: Collect responses for 4-5 business days maximum, then make your decision even if a few people haven't responded; waiting indefinitely for perfect participation often delays the event longer than accommodating one or two late confirmations.
Step 4: Visualize data to identify optimal dates
You've collected availability data from your team. Now comes the moment where patterns emerge and the best date becomes obvious. Visualizing your data transforms a spreadsheet of responses into actionable insight.
When your scheduling tool displays responses, look for the dates with the fewest conflicts. Most modern scheduling platforms show this visually, using color coding or intensity markers to highlight busy days versus free days. A date where only one person is unavailable stands out clearly compared to a date where five people cannot attend.
Start by scanning for consensus days. These are dates where the vast majority of your team shows no conflicts. In a team of 20 people, if 18 can attend on March 22 but only 12 can on March 23, March 22 is your answer. You don't need perfection, you need the best option available.
Consider these factors when reviewing your visualization:
- Which date range has the fewest busy marks
- Whether conflicts cluster around certain days or spread throughout
- If any particularly important people have unavailability you can accommodate
- Whether a slightly later date offers dramatically better availability
Visualization tools often allow you to identify patterns in group availability that raw numbers might obscure. You can see at a glance whether Monday is traditionally worse than Tuesday, or whether certain time zones create predictable gaps.
Many scheduling platforms let you filter or drill deeper into the data. If you need to understand why a particular date is problematic, you can sometimes see which people marked themselves unavailable. This helps you decide whether you can work around the conflict or if it truly matters.
The goal is not zero conflicts. The goal is the date that works best for the most people, especially your key decision-makers.
Once you've identified your top candidate date, review it one more time against your event needs. Does it fall within your originally planned window? Does it give you enough lead time before the actual event? Is it far enough away that you have time to handle logistics?
If your top choice truly works, you're ready to move forward. If something feels off, look at your second-best option before automatically asking everyone to resubmit availability.
Pro tip: Don't overthink dates with 85 percent or higher availability; that's as good as it gets with distributed teams, and the cost of asking people to reschedule and recollect responses almost always exceeds the benefit of chasing perfect attendance.
Step 5: Confirm and communicate selected event dates
You've made your decision. Now it's time to lock in the date and tell everyone officially. Clear communication at this stage prevents confusion and builds momentum toward your event.
Before you announce anything publicly, handle your internal confirmations first. Secure your venue, book your catering, and confirm any travel arrangements that depend on knowing the exact date. If you're coordinating with external partners or vendors, get their written confirmation that they can support your chosen dates. Nothing undermines credibility faster than announcing a date only to discover your venue is unavailable.
Once you've locked down the logistics, draft a clear announcement. Keep it concise but informative. Your team needs to know the date, the duration, the format (in-person, virtual, or hybrid), and what comes next. Include any important details like registration deadlines or what to prepare.
Your announcement should cover:
- The confirmed event date and time
- Event location or meeting platform
- Whether attendance is mandatory or optional
- Any preparation or materials needed
- Next steps for registration or confirmation
- A point of contact for questions
Distribute your announcement through multiple channels. Email remains the standard for corporate events, but don't stop there. Post to your company intranet, team chat platforms, and shared calendars. Communicate through consistent channels to ensure everyone receives the same message and no one claims they didn't know.
Consider timing your announcement strategically. Avoid Fridays when people check email less frequently, and avoid late afternoons when messages get buried. Mid-morning on a Tuesday or Wednesday typically gets the best engagement.
After your initial announcement, send periodic reminders as the event approaches. A message four weeks out, then two weeks out, then one week out keeps the event top-of-mind and gives people time to plan around it.
Announcing a date is not the same as ensuring people actually know it. Repetition through multiple channels is how information sticks.
If you're asking for individual confirmations or registrations, set a deadline and monitor responses. Following up with people who haven't confirmed ensures you have accurate headcount for logistics.
Pro tip: Include a calendar file attachment or add-to-calendar link in your announcement email so people can immediately block the time on their calendars without manually entering the details.
Simplify Your Team's Event Date Selection With WhenNOT
Coordinating the perfect date for your corporate retreat or team event can feel overwhelming when juggling multiple schedules and time zones. The article "Master the Event Date Selection Process for Teams" highlights the challenge of gathering unavailable dates and visualizing conflicting schedules to find the best time that works for most attendees. If you want to avoid endless back-and-forth emails and the frustration of waiting for late responses, you need a scheduling solution designed specifically to handle these pain points with ease.
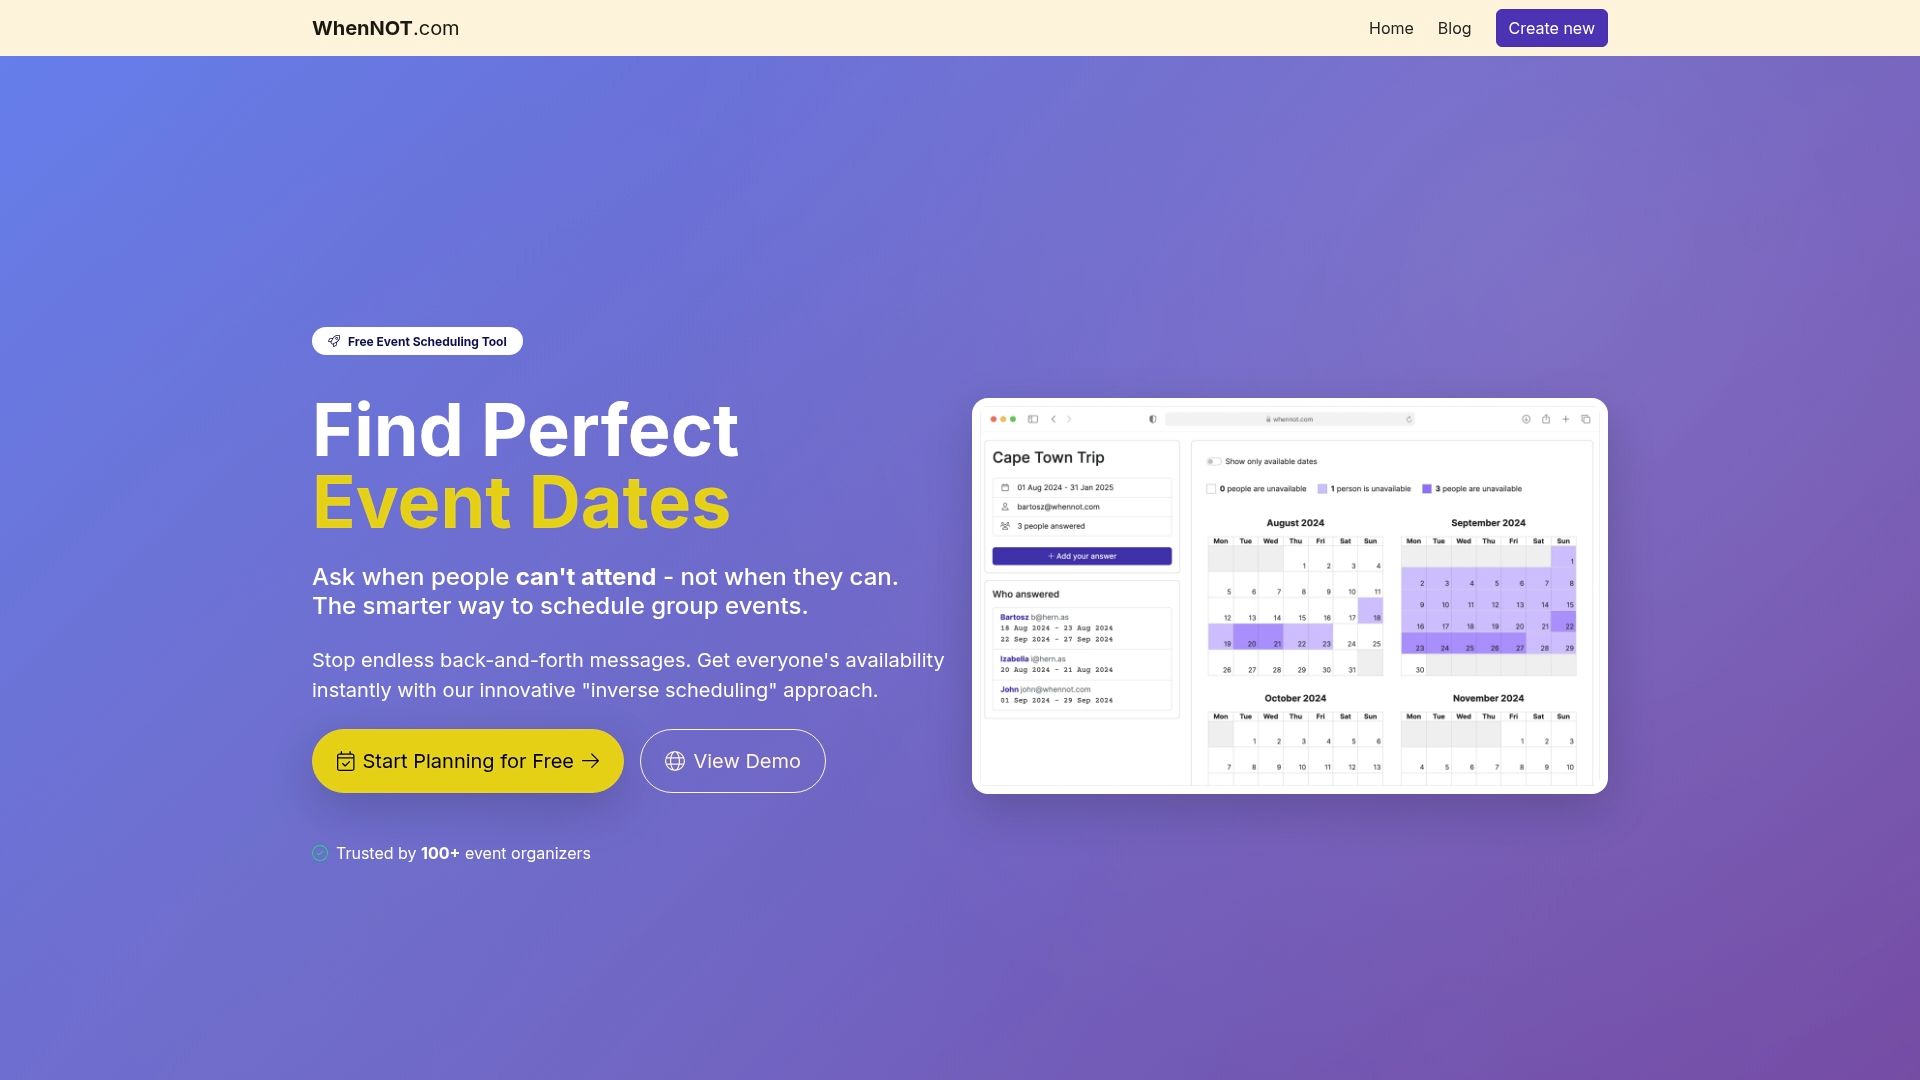
WhenNOT transforms event planning by using an inverse scheduling approach where participants mark their unavailable dates rather than their availability. This method aligns perfectly with the article's step-by-step guidance on setting a clear date range, collecting busy dates, and visualizing data to identify consensus days effortlessly. Save time, reduce stress, and increase participation with an intuitive, free tool that requires no signups and respects privacy. Start streamlining your corporate retreat date selection now by visiting WhenNOT and experience a faster path from scheduling chaos to confirmed event dates. Learn more about how to create events and set date ranges or discover the advantages of our unique inverse scheduling method. Your next successful event starts with a simple click.
Frequently Asked Questions
How do I define my event parameters for date selection?
To define your event parameters, clarify the primary purpose of your retreat, the expected number of attendees, the budget, and the event format. Start by answering these questions to streamline the scheduling process and ensure everyone is aligned on expectations.
What should I consider when setting a date range for my event?
When setting a date range, consider factors like your company's calendar, potential conflicts with major holidays or industry events, and the time zones of your team members. Aim for a date range of 2 to 8 weeks, allowing at least 2-3 weeks of planning time before the event.
How can I effectively collect availability from my team?
To collect availability, share a scheduling link that allows team members to mark dates they are unavailable, rather than asking for their preferred dates. This method saves time and simplifies the process of identifying which dates work best for the majority of attendees.
What should I do if I have team members in different time zones?
If you have team members in different time zones, be mindful of how these differences may affect scheduling. Consider proposing multiple date options that take time zones into account, and aim for a consensus date that minimizes inconvenience for the majority of the team.
How do I analyze availability data to choose the best date?
To analyze availability data, visualize the responses to identify consensus days with the fewest conflicts. Look for dates where a majority, ideally around 80-90%, of attendees can participate, and confirm that the selected date aligns with your initial event parameters and planning timeline.
What key information should I include in my event confirmation announcement?
Your event confirmation announcement should include the date, time, format, location, and any next steps for registration or preparation. Ensure the communication is clear and distributed through multiple channels to maximize reach and understanding among all team members.