
Juggling calendars for a multi-day corporate retreat can quickly turn into a tangled mess when teams operate across time zones and departments. For event organizers, clear event goals and scope set the foundation for every decision, while effective scheduling keeps energy focused where it matters. This guide offers practical steps to eliminate endless email threads, reduce scheduling headaches, and align your team for higher participation at every stage of planning.
Table of Contents
- Step 1: Define Event Goals And Scope Clearly
- Step 2: Gather Team Availability Using Inverse Scheduling
- Step 3: Visualize Conflicts To Identify Optimal Dates
- Step 4: Verify Participation To Maximize Attendance
- Step 5: Finalize Event Details And Communicate Plans
Quick Summary
| Key Message | Explanation |
|---|---|
| 1. Clearly Define Event Goals | Establish specific objectives to align your team and focus logistics around a shared vision for success. |
| 2. Use Inverse Scheduling Approach | Ask participants when they are unavailable to streamline gathering availability and reduce scheduling conflicts. |
| 3. Visualize Conflicts with Data | Compile unavailability into a visual format to easily identify optimal event dates with the least conflicts. |
| 4. Confirm Participation for Accountability | Secure firm attendance commitments to accurately plan logistics and adjust accordingly if attendance numbers change. |
| 5. Communicate Final Details Effectively | Distribute a comprehensive event details document to ensure all participants are prepared and informed leading up to the event. |
Step 1: Define event goals and scope clearly
Before your team starts coordinating schedules and logistics, you need to establish exactly what success looks like for your event. This means spelling out your objectives, identifying what you want to accomplish, and determining the boundaries of your event. When your goals are clear from day one, everyone on your team moves in the same direction, and you avoid wasting time on activities that fall outside your actual vision.
Start by asking yourself and your team some fundamental questions. What is the primary purpose of this event? Are you bringing your team together for a quarterly strategy session, a two-day off-site retreat, or a team building experience? Understanding your core objective shapes every decision that follows, from the dates you select to the activities you plan. Next, define what success looks like measurably. Will you measure it by attendance rates, engagement levels, specific outcomes achieved, or team feedback? Establishing what your project scope includes and, equally important, what it excludes prevents scope creep where your event gradually expands beyond what you originally intended. You should also identify your deliverables and key milestones. What needs to happen before the event, during the event, and after the event? Who owns each responsibility? When you assign roles based on individual strengths and experience, team members understand not just what they need to do, but why it matters to the bigger picture.
Document these goals and boundaries in a simple one-page reference that your planning team can access anytime. Be specific about deadlines, budget constraints, participant count, and any non-negotiables. When team members understand what success looks like and what falls outside the project boundaries, your planning process stays aligned and focused. This clarity becomes especially valuable when coordinating availability across multiple participants, since everyone knows exactly what they're committing their time to.
Pro tip: Write down your event goals before you gather availability from participants—this ensures you're collecting scheduling data specifically for the right dates and participants rather than trying to fit an undefined event into whatever dates work best.
Step 2: Gather team availability using inverse scheduling
Now that you have your event goals and scope locked down, it's time to figure out when everyone can actually attend. Instead of asking each person when they're free (which creates endless back and forth), inverse scheduling flips the question around. You ask participants when they're busy or unavailable, which is usually faster and simpler for people to answer. This approach works especially well for corporate retreats and multi-day events where traditional availability methods become tedious.
Here's how to execute this effectively. Create a simple message to your team that lists your target date range for the event. Instead of asking "When are you available?", ask "When are you NOT available during these dates?" People find it much easier to block out their confirmed conflicts than to list all their open windows. When you use inverse scheduling techniques, you're essentially predicting and aligning everyone's free time at once, which reduces conflicts significantly. Send out your availability request with a clear deadline, usually one week out from when you need to finalize dates. Make it obvious what format you want responses in—whether that's marking dates on a calendar, listing specific days, or using a scheduling tool. The beauty of this approach is that you immediately see the visual overlap of when people are NOT busy, making it obvious which dates have the fewest conflicts. You can also track partial availability, meaning if most people are free on your target dates except for two individuals, you can often work with that rather than searching for a date when everyone is completely free.
Once you collect all responses, map out which date ranges have the least amount of unavailability. Look for patterns—do most conflicts cluster on certain days? Understanding how resource scheduling optimizes task allocation helps you balance the team's needs with your event requirements. If your original target dates don't work for most people, you now have clear data showing which alternative dates minimize scheduling problems. This data-driven approach beats endless email chains and gives you confidence that you've chosen the best possible timeframe.
Here is a comparison of traditional scheduling versus inverse scheduling to highlight why inverse scheduling is recommended for team event planning:
| Aspect | Traditional Scheduling | Inverse Scheduling |
|---|---|---|
| Time to Collect Availability | Often slow, multiple emails | Faster, fewer responses needed |
| Clarity on Conflicts | Unclear, manual review needed | Visual, immediate conflict spotting |
| Participant Response Rate | Lower, more effort required | Higher, simpler to answer |
| Best Use Cases | Small meetings, 1:1s | Large groups, retreats, multi-day events |
Pro tip: When distributing your inverse scheduling request, include one specific example of how to respond (like "I'm unavailable June 5th and 6th") to eliminate confusion and speed up response times significantly.
Step 3: Visualize conflicts to identify optimal dates
With all your availability data collected, you now need to see the complete picture of when conflicts occur. This is where visualization becomes your most powerful tool. Instead of staring at spreadsheets or reading through individual responses, you want a clear visual representation that shows you exactly which dates work best for the most people. When you can see everyone's unavailable dates displayed together, the optimal event dates practically jump off the screen.

Start by compiling all the unavailability data into a simple visual format. The easiest approach is a calendar or grid where each column represents a day in your target date range and each row represents a team member. Mark the days when each person is unavailable, and you'll immediately spot patterns. Which dates have the fewest marks? Those are your candidates. You might notice that Mondays have more conflicts than Wednesdays, or that certain weeks are completely packed while others are relatively clear. When you use calendar or timeline tools to visualize schedules, you minimize overlaps and maximize attendance across the board. Look at the data strategically. If your preferred dates have five people unavailable but your backup dates only have two conflicts, that's actionable intelligence. You can also identify secondary conflicts. Maybe your ideal date works for 90 percent of the team but conflicts with an important company meeting or a major deadline your team is racing toward. Seeing this context helps you make informed decisions rather than just optimizing for raw availability numbers.
Once you identify your top three or four candidate dates, communicate your findings back to the group. Show them the visual data showing why you selected certain dates. This transparency builds buy in and helps people understand that their input directly shaped the final decision. When stakeholders can see how data analytics help detect scheduling conflicts, they're more likely to commit to attending the event. If none of your original candidate dates work well, the visualization will also show you which alternative windows have the fewest problems, allowing you to pivot confidently.
Pro tip: Create a simple color coded heat map where darker colors represent more people unavailable on that date, making it instantly obvious which dates are truly problem free without needing to count individual conflicts.
Step 4: Verify participation to maximize attendance
You've identified your ideal dates and communicated the plan to your team. Now comes the critical step that separates well-attended events from those that fall short: getting firm commitments from participants. Simply asking for availability and choosing dates isn't enough. You need people to actually confirm they'll be there, which creates accountability and helps you plan logistics accurately. This verification step directly impacts your event's success because confirmed attendance numbers drive everything from catering to breakout session sizes.
Reach out to your team with a clear confirmation request tied to your selected dates. Make it simple and direct: "We've scheduled the retreat for June 14-15 based on your availability input. Can you confirm you'll attend?" Give them a specific deadline for responding, usually three to five business days. Research shows that participation commitments correlate with improved attendance rates, so don't treat this as optional. Track responses in a spreadsheet or simple system where you can see who's confirmed, who hasn't responded, and who indicated they might not attend. This data matters because it tells you whether you actually have the headcount you expected. When you notice gaps between your assumed attendance and confirmed attendance, you can adjust your planning accordingly. If your team of 20 people only 12 confirm, you might downsize venues or adjust the program scope. If everyone confirms, you can move forward confidently. Send a polite reminder to non-responders about one week before the event. Sometimes people simply miss the first request or procrastinate on confirming. A gentle follow-up often brings in another 10 to 15 percent of confirmations. Use data-driven strategies to track participation patterns so you understand which team members consistently commit early and which ones wait until the last minute. This knowledge helps you adjust your timeline for future events.
Once you have solid confirmation numbers, share the final headcount with your vendors, venue, and any internal stakeholders who need to know. This transparency ensures that catering quantities are accurate, meeting rooms are properly sized, and materials are printed in the right amount. You've now moved from theoretical availability to actual commitments, which transforms your event planning from guesswork to reality-based execution.
Pro tip: Send confirmation requests with a simple one-click response option (like "Reply with YES to confirm attendance") rather than asking people to fill out a form, which dramatically increases response rates within your timeline.
Step 5: Finalize event details and communicate plans
With confirmed attendance locked in, you're ready to nail down the specifics that will make your event run smoothly. Finalizing event details means confirming every component that participants need to know about: the exact venue address, start and end times, what to bring, parking information, agenda items, and any special instructions. This is also when you lock in vendor commitments like catering quantities, audio-visual equipment, and room setup. Communication at this stage prevents the chaos of last-minute surprises and ensures your team arrives prepared rather than confused.
Create a comprehensive event details document that covers everything participants and stakeholders need to know. Include the event date and time in multiple formats if your team spans time zones. Add the venue location with directions and parking details. Specify what attendees should bring or wear. List the agenda with timing for each activity so people know what to expect. When you finalize all event components including logistics and staffing details, you create a reference point that eliminates questions later. Share this document with all stakeholders at least one week before the event. Your team needs time to adjust their schedules, arrange transportation, and mentally prepare. Vendors need confirmation of final headcounts and setup specifications. Send follow-up reminders to participants three days before and again the morning of the event. These reminders dramatically reduce no shows because they keep your event top of mind. Use clear, organized language in all communications. Bullet points work better than lengthy paragraphs. Include a contact person and phone number for questions. When you confirm venue, catering, and logistics details well ahead of time, you eliminate the scramble of last-minute confirmations. This also gives vendors time to address any issues before your event occurs.
This table summarizes the key checkpoints to confirm before finalizing an event, ensuring flawless logistics:
| Checkpoint | Responsible Party | Purpose |
|---|---|---|
| Final Headcount | Event Organizer | Confirm catering and seating |
| Venue Confirmation | Event Coordinator | Ensure room setup and logistics |
| Agenda Distribution | Planning Lead | Inform participants of activities |
| Vendor Reminders | Logistics Manager | Avoid last-minute supply issues |
Beyond the basics, communicate what makes your event special. Share the purpose of the gathering and what you hope the team will accomplish together. Help people understand why their attendance matters. When participants grasp the bigger picture, they're more likely to show up engaged rather than simply present. Create anticipation by highlighting specific activities or speakers. This transforms your event from an obligation into something people actually want to attend.
Pro tip: Send a reminder email 48 hours before with a simple checklist of what to bring and a final confirmation that the event is still happening, which catches any last-minute cancellations or scheduling conflicts you can still address.
Simplify Your Team Scheduling Challenges with WhenNOT
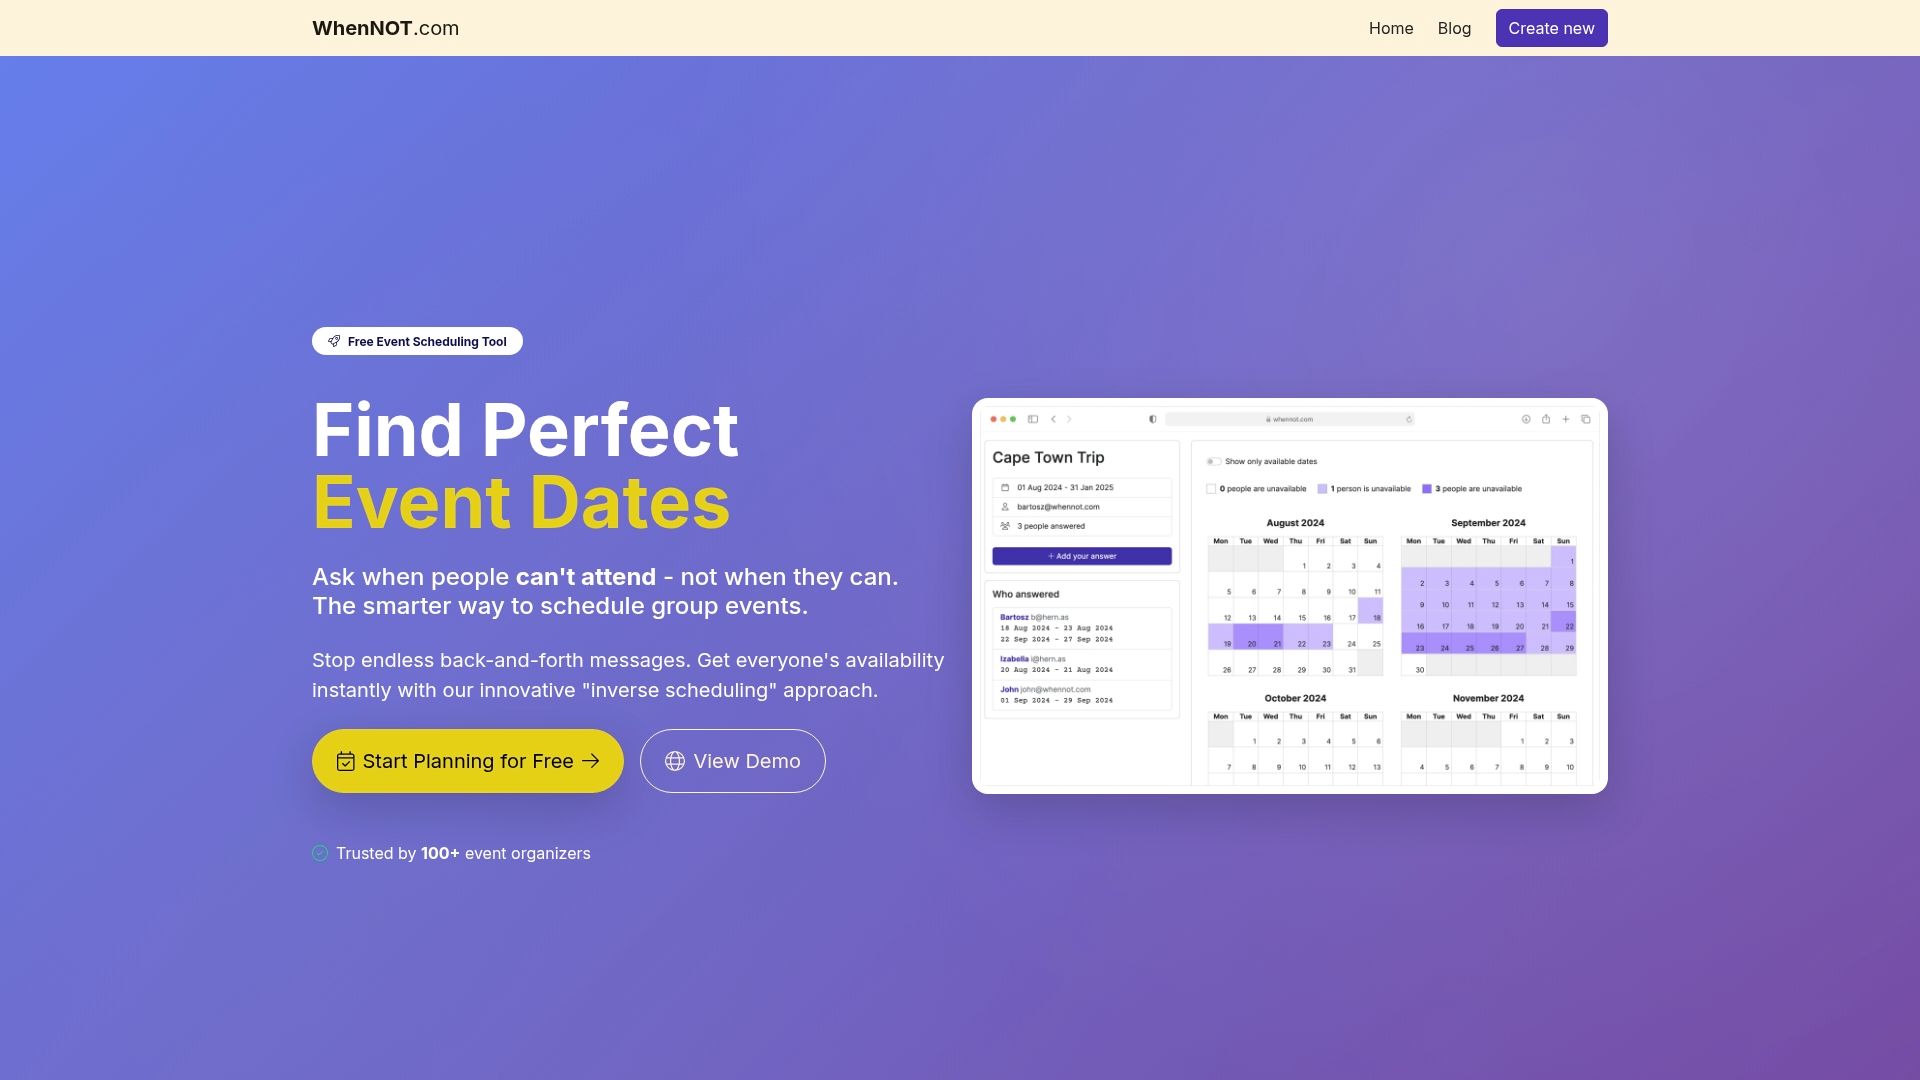
Planning an event where every team member's availability matters can feel overwhelming. The article "Master Team Availability Best Practices for Event Success" highlights common pain points like managing multiple busy schedules and the difficulties of finding optimal dates through traditional availability requests. Concepts like inverse scheduling and visualizing conflicts are key to cutting through coordination chaos and improving attendance outcomes.
WhenNOT offers the perfect solution to these challenges. By asking participants when they are not available instead of when they are, it drastically reduces back-and-forth communication and speeds up decision-making. With instant visual conflict mapping and no account needed for participants, WhenNOT delivers a streamlined experience that maximizes attendance and respects everyone's time. Experience firsthand how the inverse scheduling approach can transform your event planning from a stressful guessing game into a smooth, data-driven process.
Ready to master your team event planning and secure the best dates with ease Use WhenNOT today to start collecting unavailability in minutes and see your scheduling headaches disappear. Don’t let unclear availability slow your team down Take control of your next event now and enjoy efficient coordination that truly supports your goals.
Frequently Asked Questions
How can I clearly define event goals for my team?
Establish event goals by identifying the core purpose and measurable success criteria. Start by asking your team what they hope to achieve and document these objectives in a one-page reference accessible to all.
What is inverse scheduling, and how can it improve my event planning?
Inverse scheduling involves asking team members when they are unavailable instead of when they are available. Use this method to gather availability more effectively and quickly, reducing back-and-forth communication and increasing response rates.
How do I visualize team availability to select the best event dates?
Create a calendar or grid that displays unavailability data for each team member. Mark the days when individuals are unavailable to easily identify patterns and select candidate dates with the fewest conflicts.
What steps should I take to verify participant commitments for my event?
Reach out to participants with a clear request to confirm their attendance once the event dates are set. Track responses in a simple system, and send reminders to non-responders to boost commitment rates.
How far in advance should I communicate final event details?
Share comprehensive event details at least one week before the event to give participants time to prepare. Include logistics such as the venue address, start times, and what attendees should bring to ensure a smooth experience.