Did you know that nearly 70 percent of group events fail to lock down a date on the first try? Coordinating busy schedules can feel overwhelming, especially with large groups or varying commitments. Clear steps can turn a frustrating process into smooth teamwork. This guide breaks down practical strategies to define your event details, collect input, and pinpoint the best meeting time with minimal hassle.
Table of Contents
- Step 1: Define Event Details And Preferred Date Range
- Step 2: Generate And Share Your Scheduling Link
- Step 3: Collect Unavailable Dates From Participants
- Step 4: Visualize And Analyze Group Availability
- Step 5: Confirm And Finalize Your Optimal Event Date
Quick Summary
| Key Point | Explanation |
|---|---|
| 1. Define clear event objectives | Documenting your goals shapes the planning process and guides decisions, ensuring all actions align with your purpose. |
| 2. Create a flexible date range | Offering multiple dates instead of one minimizes conflicts and accommodates diverse participant schedules. |
| 3. Use intuitive scheduling tools | Platforms like WhenNOT allow participants to easily indicate unavailability, simplifying the scheduling process for everyone. |
| 4. Visualize group availability | Use color-coded graphics to quickly identify when most participants can attend, improving your decision-making. |
| 5. Communicate final details effectively | Once the best date is chosen, clearly communicate all event information to ensure participants are informed and prepared. |
Step 1: Define event details and preferred date range
Successful event planning starts with crystal clear foundations. In this crucial first step, you will outline your event specifics and identify potential timeframes that work best for your group.
Begin by documenting your event objectives with precision. What are you trying to accomplish? Understanding this sets the entire planning trajectory. According to research from educational event planning experts, establishing clear event goals helps guide all subsequent decisions. Whether you are coordinating a family reunion, corporate retreat, or hobby group meetup, your objectives will determine everything from venue selection to participant scheduling.
Next, identify your target audience. Who will be participating? Consider their availability, potential constraints, and preferences. Are these colleagues with typical work schedules? Students with academic calendars? Families with varied commitments? Knowing your participants helps you create a realistic date range.

When selecting your potential date range, aim for flexibility. Instead of pinpointing a single date, create a window of opportunity. For multi-day events, this approach reduces scheduling conflicts. Simplify scheduling for events by allowing participants multiple options to indicate their availability.
Pro Tip: Always build in buffer time around your preferred dates. Unexpected conflicts happen.
Once you have defined your event details and potential timeframe, you are ready to move to the next planning stage where you will share your preliminary schedule with participants and gather their input.
Step 2: Generate and share your scheduling link
With your event details defined, you are now ready to create and distribute your scheduling link. This crucial step transforms your initial planning into an interactive process that makes coordinating group availability seamless.
Start by accessing your scheduling platform. In this case, WhenNOT provides an innovative approach to group scheduling by allowing participants to mark their unavailable dates instead of traditional availability windows. According to research from collaborative scheduling platforms, this inverse method significantly reduces communication complexity.
Create your event by entering the potential date range you established in the previous step. Your scheduling link will reflect these initial parameters. Be precise about the possible timeframes to give participants a clear understanding of your scheduling needs.
Once generated, your unique scheduling link becomes your primary coordination tool. Master team scheduling best practices suggest making the link easily shareable through multiple communication channels like email, messaging apps, or group chats. This ensures maximum participant accessibility.
Pro Tip: Double check the link works before sending it out. A broken or incorrect link can derail your entire scheduling process.
The next phase involves sharing the link and waiting for participants to input their unavailable dates which will help you identify the optimal meeting time.
Step 3: Collect unavailable dates from participants
With your scheduling link created, it is time to gather participant availability. This critical phase transforms your event planning from individual concept to collaborative effort.
Distribute your unique scheduling link through multiple communication channels. Emails, text messages, group chats and shared collaboration platforms work best. According to research on collective event scheduling, ensuring easy access dramatically increases participant response rates. Essential group event scheduling tips recommend providing clear instructions alongside the link to maximize engagement.
Invite participants to mark their unavailable dates directly on the platform. WhenNOT unique approach allows people to indicate when they cannot meet without requiring complex sign ups or account creation. This simplifies the process for everyone involved.
Set a reasonable deadline for responses. Typically one week provides sufficient time for most participants to review and input their constraints. Be patient but also proactive. A gentle reminder midway through your response window can help ensure comprehensive input.
Pro Tip: Send a personalized message explaining the event context. People are more likely to respond quickly when they understand the purpose.
Once participants have submitted their unavailable dates, you will move to the final stage of identifying the optimal meeting time that works for the maximum number of people.
Step 4: Visualize and analyze group availability
Now comes the exciting moment where all participant inputs transform into a clear picture of collective availability. This step turns individual constraints into a strategic scheduling solution.
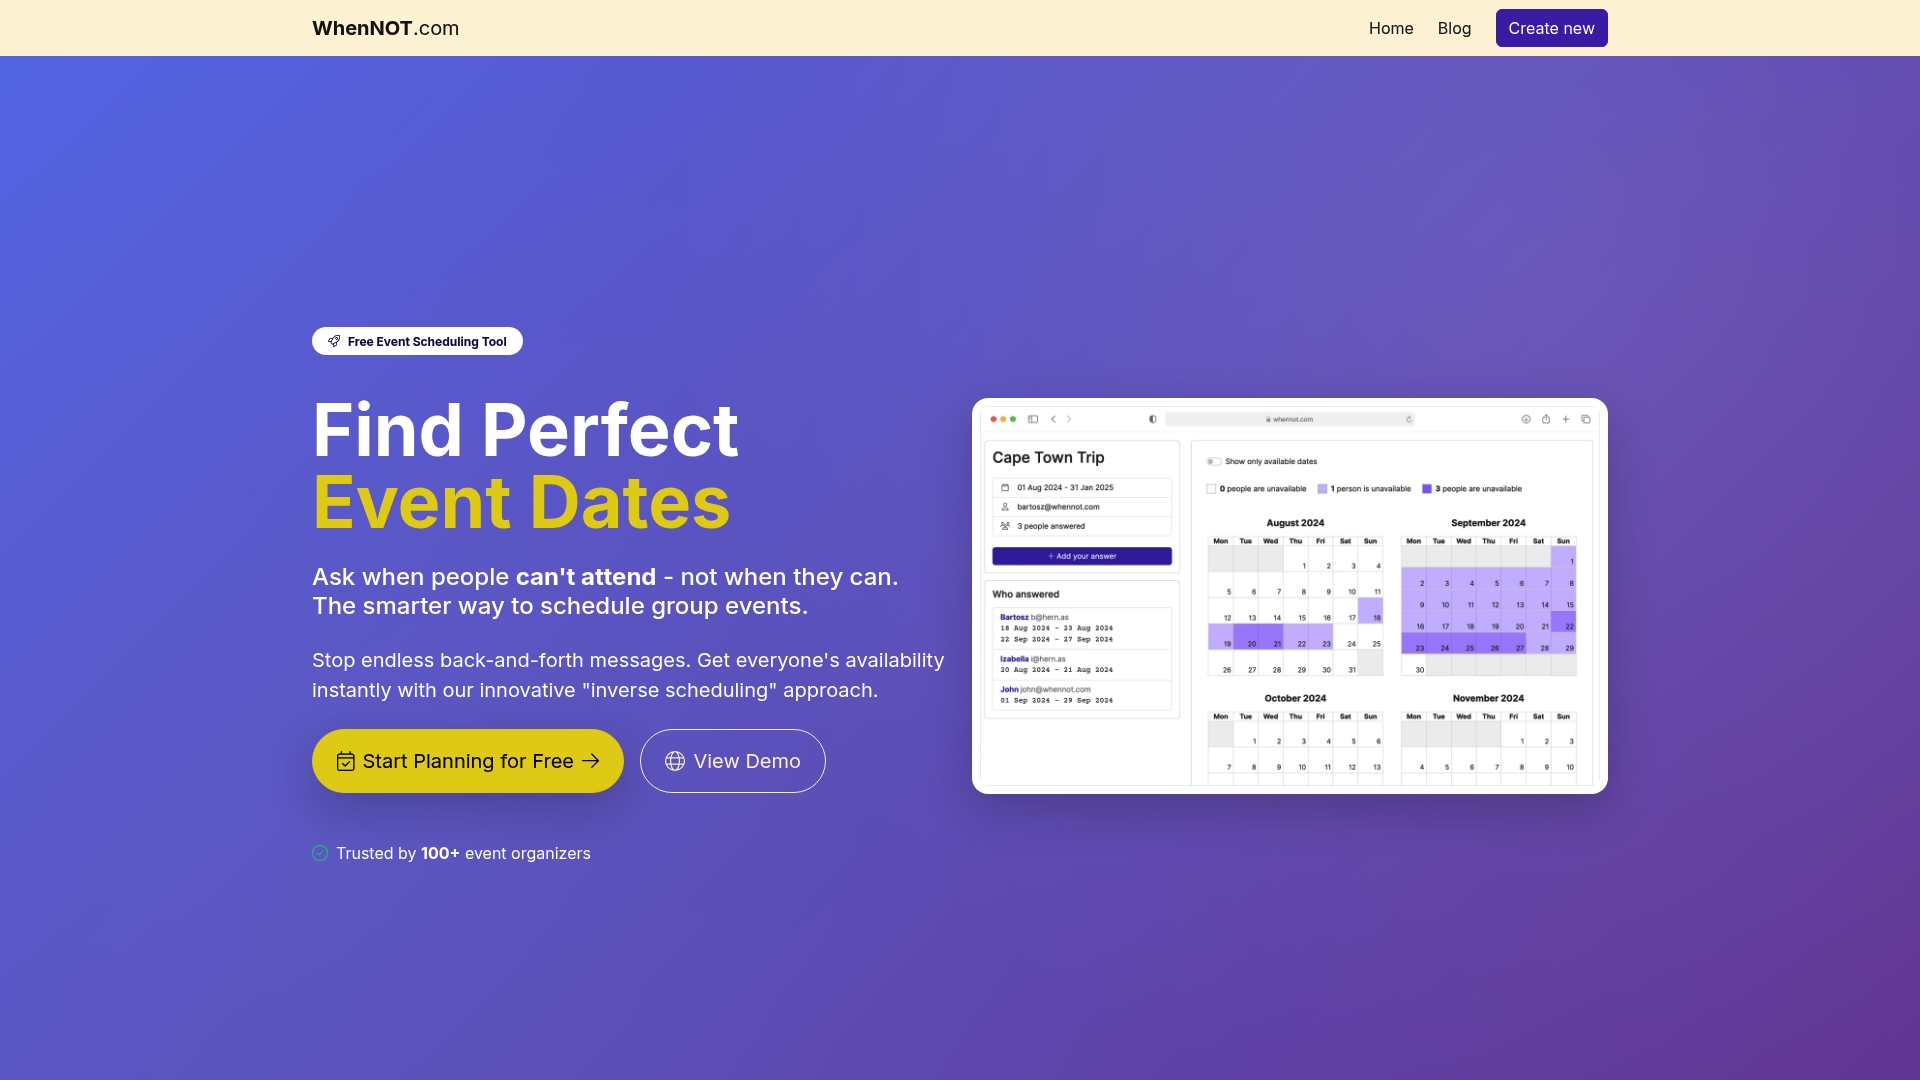
WhenNOT provides an innovative visual interface that instantly displays which dates are blocked across your entire group. Understanding group availability becomes remarkably straightforward through color coded graphics that highlight common unavailable periods.
According to advanced scheduling research, dynamic visualization helps organizers quickly identify optimal meeting windows. The platform automatically highlights dates with maximum participant availability allowing you to see potential time slots at a glance.
Pay close attention to the pattern of unavailable dates. Some participants might have recurring constraints like weekly meetings or standing commitments. Look for consistent overlap in blocked periods that could inform your final date selection.
Pro Tip: Check for outliers. If one or two participants have significantly different unavailability compared to the group, consider discussing potential flexibility.
Once you have analyzed the visual representation of group availability, you are prepared to select the most suitable date that accommodates the majority of participants efficiently and effectively.
Step 5: Confirm and finalize your optimal event date
You have arrived at the final decision point of your group scheduling journey. This crucial moment transforms visual data into a concrete event plan that works for everyone.
Analyze the visual availability map carefully. Look for dates with the least number of unavailable participants. Research on group decision making suggests selecting times that accommodate the maximum number of people while minimizing individual scheduling conflicts.
Mastering best group scheduling practices recommend a collaborative approach to final date selection. Consider reaching out to participants with minor conflicts to discuss potential flexibility or alternative arrangements.
Pay attention to the context of your event. A family reunion might require different considerations compared to a work meeting. Some participants may be willing to adjust their schedules for important gatherings.
Pro Tip: When multiple equally good date options exist, conduct a quick poll or direct communication to make the final selection.
Once you have selected the optimal date, prepare to communicate the final event details to all participants and begin the next phase of your event planning process.
Here's a summary of each group scheduling step:
| Step | Main Goal | Key Actions | Pro Tip |
|---|---|---|---|
| 1. Define Details | Set clear objectives | Document goals Identify audience Select date range | Allow buffer time |
| 2. Share Link | Initiate collaboration | Create scheduling link Distribute via channels | Test link before sharing |
| 3. Gather Input | Collect unavailability | Share link Set response deadline | Personalize invitations |
| 4. Visualize Data | Analyze group availability | Review visual map Spot conflict patterns | Check for outliers |
| 5. Finalize Date | Confirm best option | Choose optimal date Communicate final details | Poll for tie-breakers |
Simplify Your Group Scheduling and Make Every Event Seamless
Planning group events can feel overwhelming when you have to manage everyone's busy schedules and shifting availability. The challenge of defining clear event details and gathering accurate unavailability data often leads to delays and frustration. This article highlights how focusing on unavailable dates and visualizing group constraints can unlock a smoother scheduling process. If you want to avoid complex back-and-forth communications and stop guessing the best dates, adopting an efficient and intuitive tool is key.

Experience the power of WhenNOT's innovative inverse scheduling approach that lets participants simply mark when they are unavailable. This revolutionary method eliminates common pain points like scheduling conflicts and low response rates. With WhenNOT, you can create your event, share a single easy link, and instantly visualize group availability to pick the perfect dates. Start streamlining your planning with tools designed for flexibility, privacy, and speed. Visit WhenNOT to create your scheduling link today and master the art of group scheduling, ensuring your next event flows effortlessly. Learn more about ways to simplify scheduling at Ways to Simplify Scheduling and explore how to Master Team Scheduling Best Practices for flawless coordination.
Frequently Asked Questions
How do I define the objectives for my group event scheduling?
Start by documenting what you want to achieve with your event. Clearly outlining your goals helps guide decisions on timeframes, venue selection, and participant involvement, ensuring a focused planning process.
What steps should I take to create and share a scheduling link?
Create your scheduling link by accessing your chosen scheduling platform and inputting your defined date range. After generating the link, easily share it through email, messaging apps, or group chats to maximize participant access and engagement.
How can I encourage participants to input their unavailable dates?
Distribute your scheduling link alongside clear instructions outlining the importance of inputting their unavailability. Setting a response deadline can motivate participants to respond quickly, typically within one week.
What should I look for in the visual data of group availability?
Pay attention to color-coded graphics and patterns in your visual availability map to identify dates with the least number of unavailable participants. This analysis helps streamline your decision-making for selecting the optimal event date.
How can I confirm the final event date with the group?
Analyze the visual availability map to find dates that accommodate the maximum number of participants, minimizing conflicts. Consider reaching out to participants with minor scheduling issues for flexibility, and communicate the final date after making a decision.