
Juggling calendars for a multi-day event often turns into a guessing game when every participant’s schedule pulls in a different direction. For event coordinators in organizations and small businesses across countries like Canada, the United States, and Australia, finding a fair, hassle-free process matters now more than ever. By focusing on a clear assessment of community needs and using innovative scheduling tools, you can transform event planning into a smoother, more inclusive experience.
Table of Contents
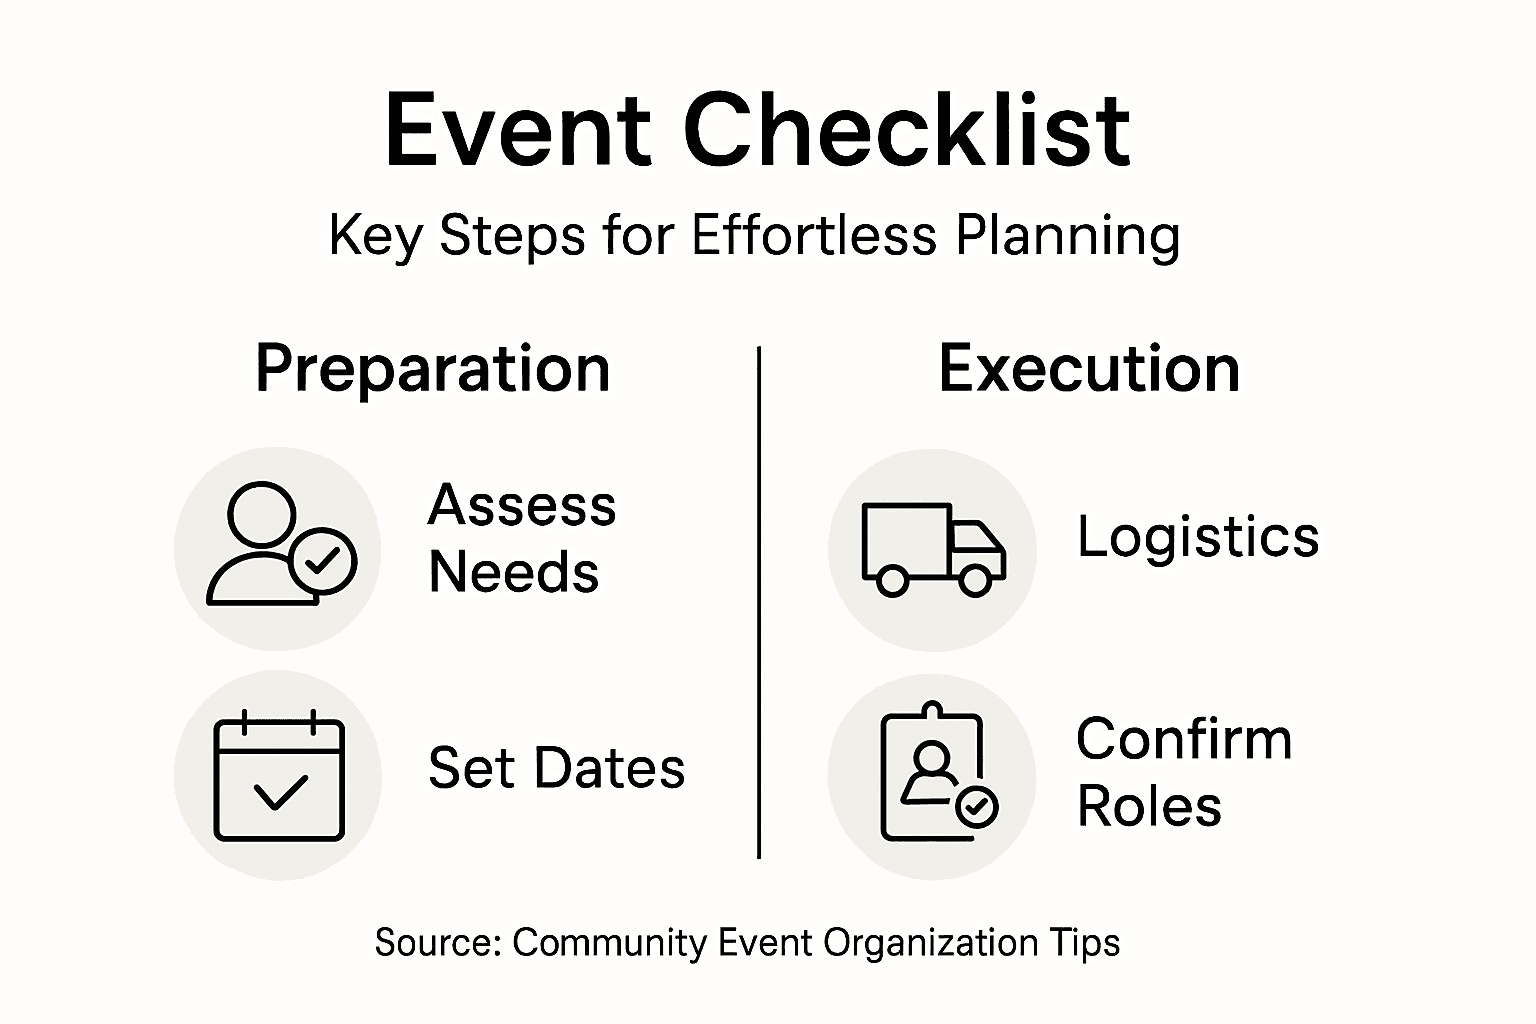
- Step 1: Assess Community Needs And Set Clear Objectives
- Step 2: Utilize WhenNOT To Gather Participants' Unavailable Dates
- Step 3: Review Date Options And Confirm Event Timing
- Step 4: Coordinate Logistics And Share Final Details
- Step 5: Verify Participant Readiness And Finalize Arrangements
Quick Summary
| Major Insight | Explanation |
|---|---|
| 1. Understand community needs | Conduct thorough assessments to identify genuine community needs and priorities. |
| 2. Use WhenNOT for scheduling | Utilize WhenNOT to effortlessly gather participant availability and simplify scheduling. |
| 3. Validate timing with participants | Review potential event dates based on participant availability and confirm timings. |
| 4. Coordinate comprehensive logistics | Communicate essential event details clearly to ensure all participants are informed. |
| 5. Confirm participant readiness | Check and verify each participant’s preparation to ensure a smooth execution on event day. |
Step 1: Assess community needs and set clear objectives
Successfully planning a community event starts with understanding your community's genuine needs and defining precise objectives. This critical first step transforms vague ideas into targeted, meaningful experiences that truly resonate with participants.
Begin by conducting a comprehensive community needs assessment that goes beyond surface level assumptions. Gather diverse perspectives through surveys, focus groups, and informal conversations with community members. Pay attention to demographic data, existing resources, and the specific challenges or aspirations people express. Look for patterns that reveal underlying priorities—whether it's connection, skill development, cultural celebration, or problem solving.
While collecting information, focus on creating measurable objectives that align with community feedback. These goals should be specific, achievable, and directly connected to the insights you've gathered. For instance, if community members express a desire for intergenerational connection, your event might aim to create structured interaction opportunities between different age groups. Quantify your objectives wherever possible: target number of participants, specific skill development outcomes, or engagement metrics.
Pro tip: Create a simple one-page summary of your community needs assessment to share transparently with potential participants and stakeholders, demonstrating your commitment to responsive event planning.
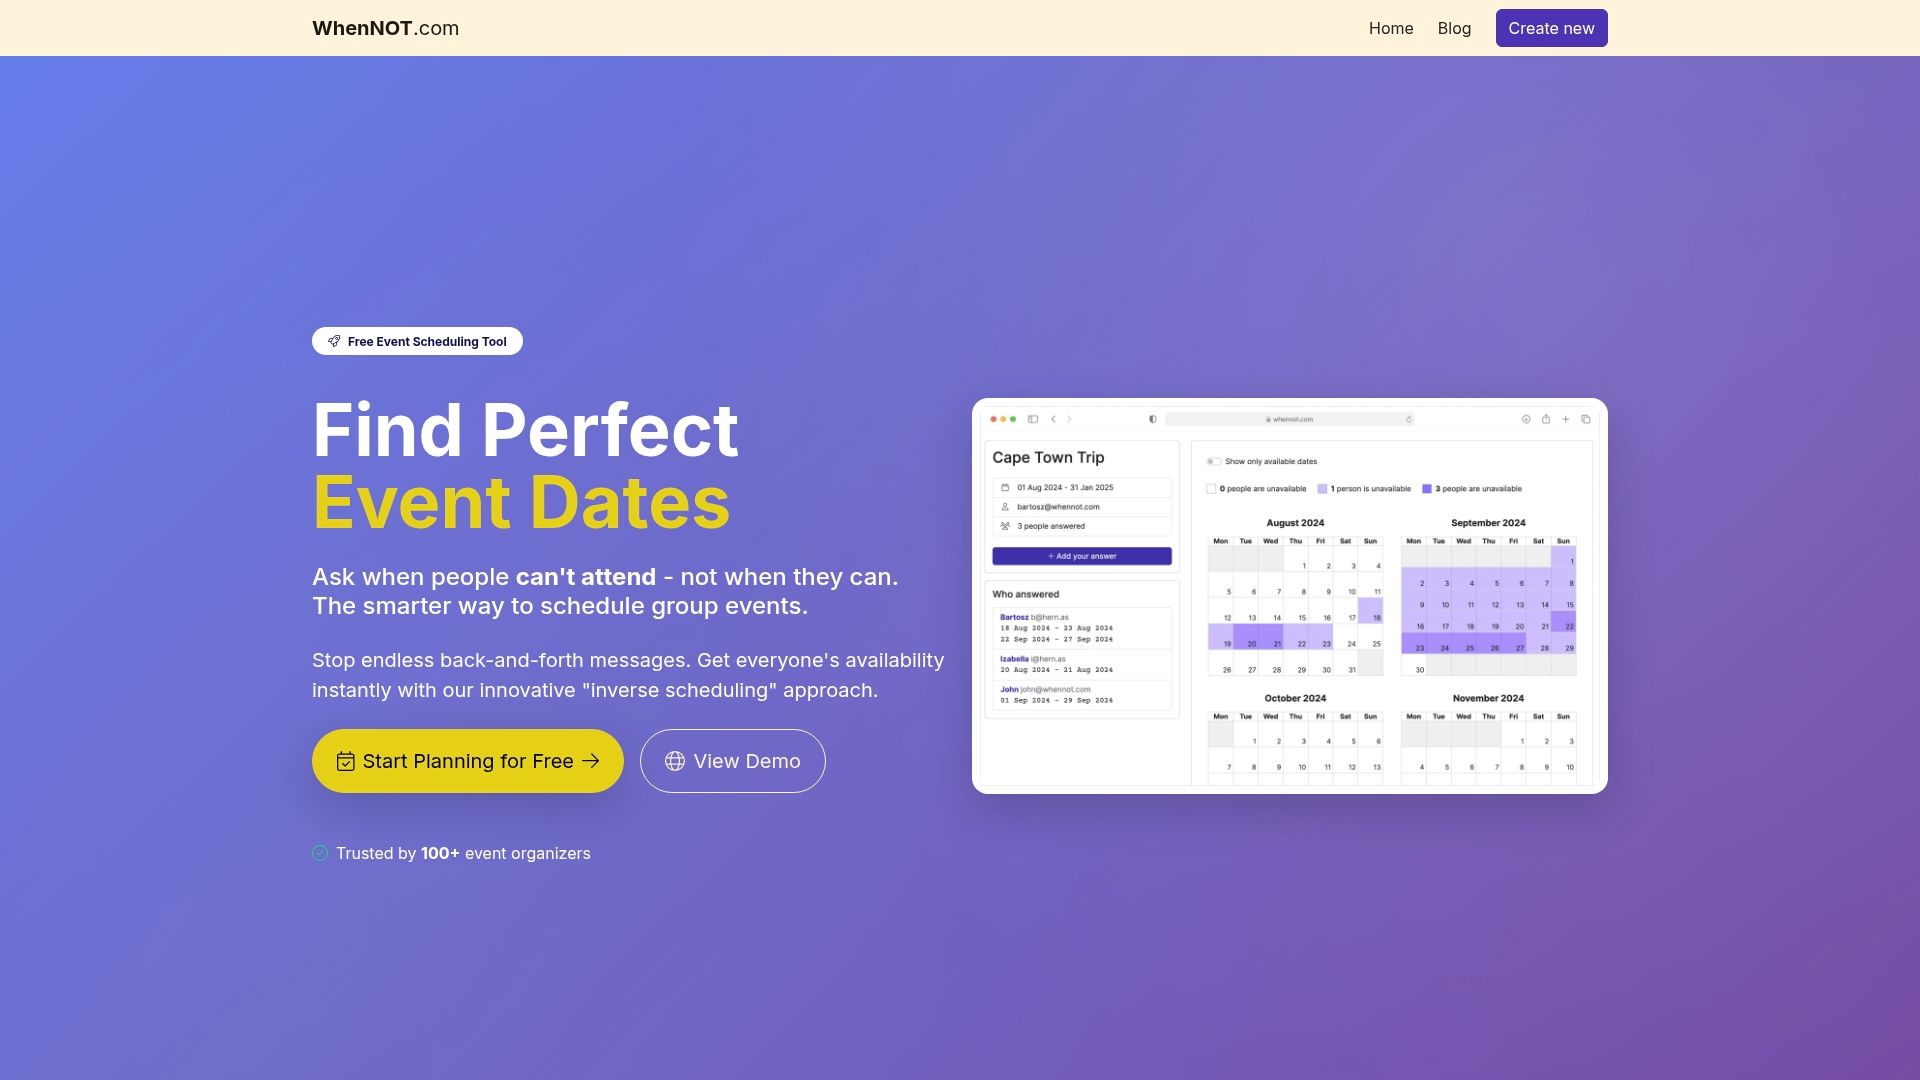
Step 2: Utilize WhenNOT to gather participants' unavailable dates
Streamlining event scheduling requires a strategic approach to collecting participant availability. WhenNOT offers an innovative solution for gathering participant schedules without the traditional back and forth communication challenges.
The platform simplifies coordination by allowing you to create unique availability links that enable participants to quickly mark their unavailable times. Unlike traditional scheduling tools, WhenNOT flips the script by asking participants what times do not work for them, which dramatically reduces coordination complexity. Start by creating an event in the system and generating a unique shareable link. Send this link to all potential participants, who can then easily indicate their unavailable dates without needing to create an account or navigate complex interfaces.
As participants input their unavailable times, the platform automatically visualizes potential meeting windows, highlighting optimal scheduling opportunities. This approach ensures maximum participant inclusivity by making the scheduling process transparent and straightforward. Pay attention to the visual representation of availability, which helps you quickly identify the most convenient times for your entire group.
Pro tip: Send your WhenNOT availability link with a clear, friendly message explaining the purpose of the event and requesting prompt responses to ensure comprehensive scheduling input.
Here's a quick comparison of traditional availability tools versus WhenNOT for event scheduling:
| Aspect | Traditional Tools | WhenNOT Platform |
|---|---|---|
| Input Method | Indicate available times | Mark unavailable dates |
| Ease of Use | Can be confusing for new users | Simple, no account needed |
| Coordination Complexity | High with back-and-forth | Reduced, streamlined process |
| Visual Schedule Overview | Often limited or fragmented | Automatic visual time windows |
| Inclusivity for Participants | May exclude tech-averse users | Designed for broad accessibility |
Step 3: Review date options and confirm event timing
After gathering participant availability through WhenNOT, the next crucial step is carefully reviewing potential event dates and confirming the optimal timing. This process requires strategic evaluation to maximize participant engagement and logistical feasibility.
Start by analyzing the availability data from your WhenNOT link, paying close attention to overlapping open time windows. Look for dates with the highest potential attendance and consider additional factors such as local events, holidays, and seasonal considerations that might impact participation. Cross reference the platform's visual availability representation with external calendars to ensure you are not scheduling during competing events or periods of low potential engagement.

Once you have identified the most promising time slots, reach out to key participants to validate the proposed timing. Send a confirmation message that includes the specific date and time range, along with any contextual details about the event. Be prepared to make minor adjustments if critical participants cannot attend during the initially proposed window. Your goal is to find a time that works for the majority while maintaining flexibility and demonstrating responsiveness to participant needs.
Pro tip: Always have a backup date in mind and communicate this alternative to participants to demonstrate proactive planning and increase the likelihood of successful event coordination.
Step 4: Coordinate logistics and share final details
With your event timing confirmed, the next critical phase involves meticulously coordinating logistics and communicating comprehensive details to all participants. This stage transforms your planning from concept to actionable reality.
Begin by creating a comprehensive communication package that outlines all essential event logistics. This package should include precise location information, arrival instructions, recommended transportation methods, parking details, required materials or documents, and a detailed event schedule. Break down the information into clear sections that participants can easily reference. Send this information through multiple channels—email, your event platform, and potentially a shared document—to ensure everyone receives and understands the critical details.
Reach out to key stakeholders individually to confirm their specific roles and responsibilities. For vendors or supporting team members, provide extra context about their expected contributions and any preparatory work needed before the event. Double check all contact information, create a backup communication plan, and establish a central point of contact for last minute questions or unexpected changes. Your goal is to create a sense of clarity and confidence among all participants.
Pro tip: Create a simple one page quick reference document with all essential event information that participants can easily print or save on their mobile devices for quick access.
Below is a summary of essential logistics components to confirm before your event:
| Logistics Component | Example Items | Importance |
|---|---|---|
| Venue Details | Location, parking, accessibility | Ensures participants can attend |
| Communication | Email invites, group chat links | Keeps everyone informed |
| Materials & Equipment | Handouts, microphones, supplies | Supports smooth event execution |
| Roles & Responsibilities | Staff, volunteers, vendors | Clarifies expectations and duties |
| Backup Plans | Alternative contacts, rain plan | Reduces risk and confusion |
Step 5: Verify participant readiness and finalize arrangements
As your event approaches, the final stage involves confirming that all participants are fully prepared and all logistical elements are perfectly aligned. This critical verification ensures a smooth and successful community gathering.
Reach out to each key participant and stakeholder with a comprehensive readiness check. Confirm individual preparation details by sending a personalized confirmation email or message that recaps their specific role, expected contributions, and any last minute requirements. Ask participants to respond with their confirmation and note any potential challenges or questions they might have. This proactive communication helps identify and resolve potential issues before they can impact your event.
Create a final master checklist that consolidates all logistical elements including venue setup, equipment needs, participant requirements, schedule confirmations, and contingency plans. Walk through this checklist systematically, verifying each component and ensuring redundancy for critical functions. Schedule a final coordination meeting with core team members to review all arrangements and assign real time problem solving responsibilities for the event day.
Pro tip: Develop a digital shared document that all key participants can access in real time, allowing instant updates and transparent communication about final event preparations.
Simplify Your Community Event Planning with WhenNOT
Organizing a community event can feel overwhelming when trying to collect everyone’s availability and finalize the perfect date. The article highlights common challenges like coordinating participant schedules, reducing back-and-forth communication, and confirming event timing that truly works for the entire group. WhenNOT directly addresses these pain points by flipping traditional scheduling methods — it asks your participants when they are unavailable instead of when they are free. This simple shift saves time and frustration, especially for multi-day or flexible events, helping you identify optimal dates with ease.
Using WhenNOT’s intuitive platform lets you focus on meaningful aspects of your event such as community needs and logistics instead of endless emails. Its no-account-required approach maximizes inclusivity, while its clear visual availability makes scheduling transparent and effortless. To learn more about how this innovative tool can streamline your community event or any group gathering, visit WhenNOT’s homepage today.
Ready to take the complexity out of your next event’s scheduling?
Discover how to organize your community event faster and with less stress by starting your free scheduling at WhenNOT. Don’t let coordination delays hold your plans back—act now and make your next gathering a success.
Frequently Asked Questions
How do I assess my community's needs before planning an event?
To assess your community's needs, conduct surveys, focus groups, and informal conversations with community members. Gather diverse perspectives to identify challenges and aspirations, enabling you to create a meaningful event that resonates with participants.
What is WhenNOT, and how can it help with event scheduling?
WhenNOT is a platform that simplifies event scheduling by allowing participants to indicate their unavailable dates. Use WhenNOT to create a unique availability link, which reduces the back-and-forth communication and streamlines the scheduling process, ensuring maximum participant inclusivity.
How can I confirm the best date for my event?
To confirm the best date for your event, analyze the availability data collected through WhenNOT. Focus on the overlapping open time windows and consider local events or holidays to choose a date with the highest potential attendance.
What key logistics should I coordinate before my event?
Before your event, coordinate logistics such as venue details, communication methods, required materials, and the roles of team members. Create a clear communication package summarizing this information and share it through multiple channels to ensure all participants are informed.
How do I ensure all participants are prepared for the event?
To ensure all participants are prepared, send personalized confirmation messages recapping their roles and responsibilities. Encourage them to respond with any questions or potential challenges, allowing you to address concerns before the event day.